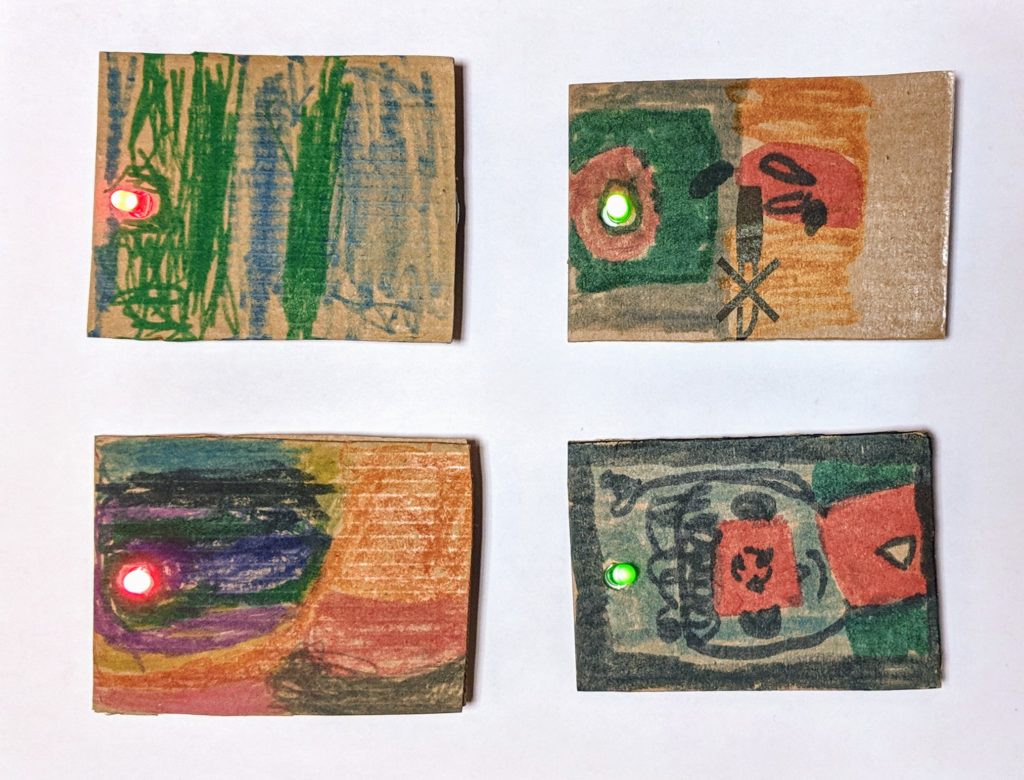
LED Circuits with 1st Graders
May 07, 2019
I recently did an LED circuit project with a group of first graders. It was challenging to figure out a way to make it easy enough for their limited fine motor skills and attention spans but also engaging and fun. I experimented with my own first grader and came up with a good compromise.
Materials Needed
- Cardboard precut into approx. 4" x 3" rectangles and with a hole punched at one end
- Hot Glue guns
- Copper tape
- CR2032 button batteries
- Battery holders with on/off switch like these: https://www.amazon.com/gp/product/B07MDRBT6N
- 3 volt LEDs

Directions
I pre-attached small strips of copper tape to the + and - leads of the battery holders and hot glued them in place. In my experiments, this was difficult for small, inexperienced fingers. I left the backing on the copper tape and just peeled up enough to poke through the hole and wrap around.
The students can attach the battery holder to the cardboard with hot glue, then use pre-cut pieces of copper tape to extend out to either side of the LED hole. They then need to bend the wires of the LED to 'make it do the splits' then tape it down with two more small pieces of copper tape. The LED should poke through the hole.
Once they're done making the circuit they can decorate the other side with pens, paper, stickers, etc. I found it worked best to have two or three students at a time work with me on making the circuits while the other students worked on decorating. If I do this again I will use white cardboard or poster board.